
Customer Svc: 855-620-2330 -
M-Sat -9am-6pm
Speak To Customer Service - 855-620-2330 - M-Sat 9:00am - 6:00pm MST
Customer Svc: 855-620-2330 -
M-Sat -9am-6pm
Speak To Customer Service - 855-620-2330 - M-Sat 9:00am - 6:00pm MST

Last Updated: October 5, 2026
A curved golf simulator enclosure is a wraparound hitting bay whose screen and side panels bend around the golfer, widening the projected image beyond a flat bay's footprint. Owners consistently report two things: the immersion is real, and the space math is unforgiving.

The praise centers on peripheral vision. Instead of staring at a rectangle, you see fairway stretching into your side view, which makes course-like views feel less like a video game. The complaint is almost always about planning: curvature eats floor space, and a room that fits a standard enclosure may not fit a curved one.
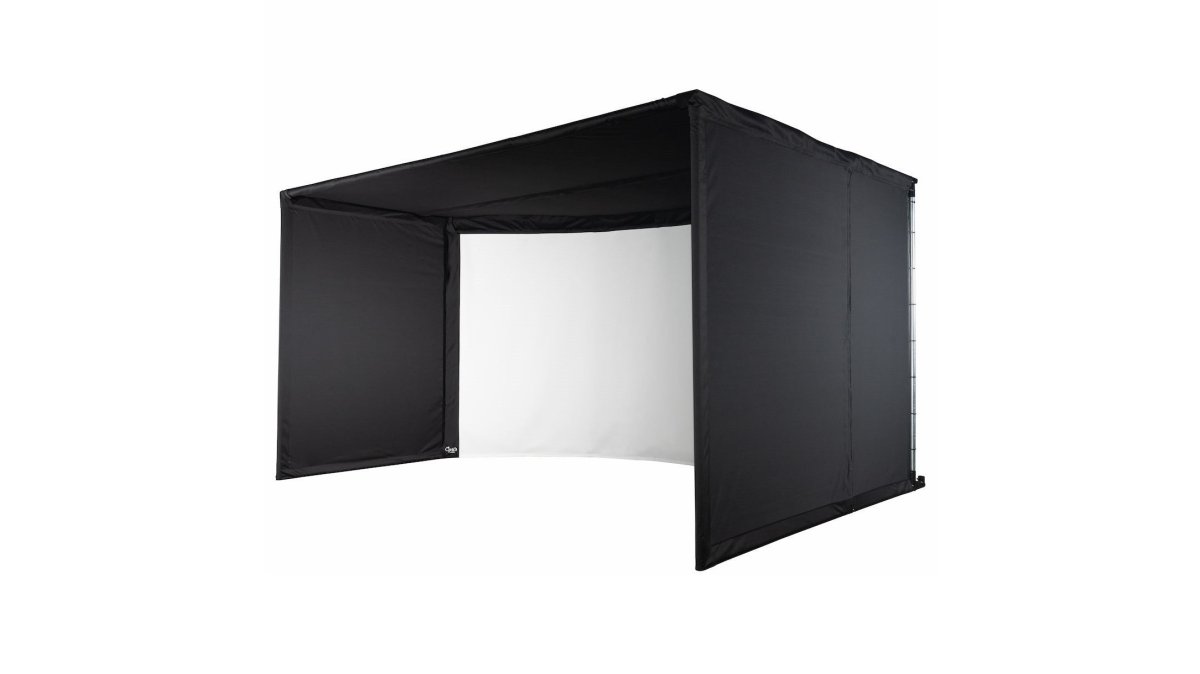
Most reviews of curved versus flat golf simulator screens stop at "curved feels more immersive." That is true, but it is not useful when you are trying to decide. Here is the same comparison run against consistent criteria: viewing angle, geometric distortion, projector alignment, brightness uniformity, and calibration effort.

Viewing angle and peripheral coverage. A flat impact screen at a typical 10-12 ft hitting distance fills roughly a 60-70 degree horizontal cone of your vision before the image edges fall outside your comfortable gaze.
Geometric distortion. Curvature does not create distortion by itself, mismatched projection does. A flat screen expects a rectangular throw; a curved screen expects the projector to bend the image to match the radius. If you feed a curved screen a flat-corrected image, the corners bow and the horizon line dips. The fix is either a projector with built-in curved-screen geometry correction or third-party warping software.
Projector alignment. Curved bays are less forgiving of off-axis mounting. A flat screen tolerates a projector mounted a few inches off-center with minor keystone correction. A curved screen amplifies that same offset into a visible asymmetry, one side of the wrap looks wider than the other. The practical rule: center the projector lens on the screen's vertical centerline within about an inch, and keep the throw distance consistent across the arc.
Brightness uniformity. A curved screen reflects light back toward the golfer from a wider set of angles, which can actually improve perceived brightness at the edges compared with a flat screen that dims as you look toward the corners. The trade-off is hotspotting: if the projector is too close or too bright for the screen gain, the center of the curve can read noticeably hotter than the wings.
Calibration effort. Budget an extra 30-60 minutes for a curved install versus a flat one. You are aligning four variables, throw distance, lens shift, keystone, and curve correction, and each one moves the others. Do it in this order: physical mount position first, lens shift second, keystone third, curve correction last. Reversing that order means redoing the earlier steps.
The honest verdict. On a well-calibrated curved bay, image quality is not better or worse than flat, it is wider. Resolution, contrast, and color are properties of the projector and screen material, not the curvature. What curvature buys you is peripheral coverage; what it costs you is alignment tolerance. If you are willing to spend the extra setup time, the immersion gain is real.
The golf simulator enclosure pros and cons list for curved models looks different from what marketing pages suggest. Here is what owner feedback actually emphasizes.
Pros owners cite:
Cons owners cite:
Golf simulator enclosure dimensions decide whether curvature is even an option. A curved bay needs more width than a flat one at the same screen size because the panels bow outward. That extra width has to come from somewhere.
Plan around four numbers before you buy:
Measurement |
Minimum |
Comfortable |
|---|---|---|
Ceiling height |
8.5 ft |
9-10 ft |
Room width |
10 ft |
12-15 ft |
Room depth |
15 ft |
18 ft |
Hitting distance to screen |
10 ft |
10-12 ft |
Swing clearance matters as much as screen width. You need room to complete a full driver swing without clipping a side panel, and the hitting area should sit centered so the curve wraps evenly around you.
Golf simulator enclosure installation is where curved bays separate from flat ones. The frame is the foundation: a heavy-duty frame with solid mounting points holds the curve's shape, and a weak frame lets the screen sag, which ruins both image clarity and ball containment.
For projector placement, short-throw projectors (roughly 0.5-1.0:1 throw ratio) work best in curved bays. Mount the projector 8-10 feet from the screen, then fine-tune image alignment until the curve reads as one continuous image rather than a bent rectangle.
DIY installation is realistic for most buyers. Two people can assemble a typical enclosure in one to two hours, and the Carl's Place curved enclosure assembly manual walks through the frame and screen steps. The OSHA guidance on safe ladder use is worth a look if your ceiling work involves ladders.
Carl's Place Curved Enclosure Kit w Impact Screen →

The sticker price of a curved enclosure is the smallest number in the decision. Total cost of ownership, enclosure, screen, frame, projector, installation, shipping, and the replacement parts you will buy, is what actually determines whether curvature was worth it. Here is how to.
The cost stack. A curved bay's total cost breaks into five buckets:
Cost bucket |
Typical share of total |
Notes |
|---|---|---|
Enclosure kit (frame + screen + side panels) |
35-50% |
The headline price you see advertised |
Projector |
20-35% |
Short-throw units cost more than standard-throw |
Launch monitor / simulator software |
15-30% |
Often purchased separately from the enclosure |
Hitting mat and turf |
5-10% |
Frequently overlooked in budget planning |
Installation, shipping, and trim |
5-15% |
Freight on large enclosures is not trivial |
A curved enclosure kit advertised at $4,894.95 is not a $4,894.95 project. Add a short-throw projector, a launch monitor, a mat, and freight, and the realistic all-in number for a home curved bay commonly lands in the low-to-mid five figures. That is not a reason to avoid curvature, it is a reason to budget the whole stack before you commit.
Where curved costs more than flat. Three line items consistently run higher on a curved bay:
Where curved costs the same. Projectors, launch monitors, mats, and software are curvature-agnostic. You would buy the same short-throw projector for a flat bay of similar width. Do not let a sales page bundle those into the "curved premium", they are not.
Durability: what actually wears out.
Maintenance schedule that actually matters.
The replaceability question. The single most important durability feature is not the material, it is whether individual components can be replaced without buying a whole new enclosure. A curved bay whose screen, side panels, and trim pieces are all separately orderable will outlast a cheaper bay whose only service option is full replacement.
How to compare two curved enclosures fairly. Line up the same five numbers for each: enclosure kit price, screen replacement price, frame material and gauge, side-panel replaceability, and freight cost to your zip code.
Carl's Place product support and documentation
A curved enclosure earns its price when you have the room to feed it. If your space clears roughly 12 feet of width and 9 feet of ceiling, the immersion gain is genuine and owners rarely look back. If your room is tight, a flat enclosure delivers the same golf with less complexity.
We offer a Price Match Guarantee, free shipping on most items, and a Simulator Finder Quiz that matches setups to your space and budget. Our team also guides home and commercial builds.
Get started with Total Golf Simulators and turn your spare room into a course you can play year-round.
Curved screens wrap around your peripheral vision, which increases field of view and makes the virtual course feel more like standing on a real fairway. Flat screens are simpler to install, cheaper, and easier to align with a projector. If immersion and a course-like view matter most, a curved golf simulator enclosure delivers more. If budget and setup simplicity come first, flat works well.
Curved enclosures cost more than flat equivalents, take longer to assemble, and demand careful projector placement to avoid image distortion at the edges. They also need more room width and depth. Budget buyers may find flat enclosures like the DIY Golf Enclosure System at $1,349.00 a better fit.
Most installations need at least 10 feet of ceiling height for comfortable swing clearance, 12 to 15 feet of width for the enclosure frame, and 15 to 18 feet of depth for ball flight and projector throw. The Carl's Place Pro Enclosure supports frame heights up to 135 inches.
They take more time than flat enclosures because the curved frame has more mounting points and the screen needs even tension to avoid wrinkles. The Carl's Place Pro Enclosure uses a one-piece wraparound ceiling and sidewalls that cuts installation by nearly an hour, plus detachable hook-and-loop flaps that simplify screen fitting. Two people and a few hours is typical for a home setup.
Curvature can introduce slight edge distortion if the projector is not aligned correctly, but a short-throw projector mounted at the right distance produces a clean, even image. BlackStop fabric on the Carl's Place Pro Enclosure darkens the interior, which improves brightness and contrast. High-Contrast Gray screens also help in rooms with ambient light.