
Customer Svc: 855-620-2330 -
M-Sat -9am-6pm
Speak To Customer Service - 855-620-2330 - M-Sat 9:00am - 6:00pm MST
Customer Svc: 855-620-2330 -
M-Sat -9am-6pm
Speak To Customer Service - 855-620-2330 - M-Sat 9:00am - 6:00pm MST

Last Updated: October 15, 2026
A loose hitting mat ruins practice: it slides under your feet and your launch monitor reads inconsistent data, so you can't tell if you're improving or just fighting the equipment.

Stabilizing your golf simulator hitting mat on concrete is the foundation of a reliable home setup.
At Total Golf Simulators, we've helped dozens of golfers build stable practice spaces in garages and basements.
This guide covers floor assessment, leveling, anchoring, and installation techniques to stabilize golf simulator hitting mats so they stay put through hundreds of swings.
Your concrete floor is not uniform, some spots are higher, texture grips differently, and concrete shifts seasonally with moisture. Spend 15 minutes assessing your space before installing anything.
Concrete floors slope slightly for drainage, and a mat on an uneven surface settles unevenly, creating gaps and movement. Use a 4-foot level across the hitting area and mark spots that are off. Most residential concrete slopes 1/8 inch per 10 feet, which is normal; if your floor drops more than 1/4 inch across the hitting area, you'll need shims or a leveling pad system.
Run your hand across the concrete. Sealed concrete is slippery and needs extra anchoring; raw, rough concrete grips naturally but may cause uneven mat contact.
An unlevel mat sags in valleys and stretches over peaks, changing how the ball reacts and making your data unreliable. Leveling is the step most DIYers skip.
Shims are thin wedges that fill gaps between the mat and concrete. Use plastic, not wood, wood absorbs moisture and warps. Place shims at corners and along edges where the concrete dips, checking the mat surface with a level as you go.
Underlayment is a rubber or foam layer under the mat that absorbs impact and prevents sliding. Choose at least 1/4 inch thick, thinner compresses unevenly, and lay it first, then position the mat on top. For concrete, pick underlayment with a textured bottom; smooth rubber slides, textured rubber grips.
Drilling isn't the only way to lock a mat down, but non-drilling methods must resist the horizontal push a full-speed swing creates. Think in three load paths: downward weight, horizontal friction, and a mechanical stop that catches the mat when friction fails.
Weight works because friction equals the coefficient of friction times the normal force. On raw, broom-finished concrete against a textured rubber base, the effective coefficient is roughly 0.6 to 0.8; on sealed or polished concrete it can drop below 0.5, which is why a mat that felt planted on a raw garage slab slides on a sealed basement floor.
Friction is the cheapest load path and the one most people under-build. You want a high-friction interface at both the concrete-to-underlay and underlay-to-mat boundaries.
Test it: place your underlayment, stand on it in golf shoes, and push sideways with your lead foot.
A mechanical stop physically blocks the mat from sliding forward, the load path that holds when friction fails mid-swing.
A few methods circulating online don't hold up:
For a typical garage or basement install on a sealed slab, a reliable non-drilling stack is:
This gives you friction, weight, and a mechanical stop without touching the concrete. If it still moves, the problem is almost always the underlayment (too smooth) or the slab (sealed and dusty), fix those before adding weight.

A rubber mat under your hitting mat is not optional on concrete. Concrete transmits vibration into your joints, and concrete and turf don't grip each other well, rubber absorbs impact and acts as the friction layer between them.
Thickness matters: 1/4 inch is the minimum, 3/8 inch is better, and anything thinner compresses too easily. Density matters too, heavy rubber (60-80 durometer) resists compression, while light rubber (40-50 durometer) flattens after a few months. Choose rubber rated for impact sports with a textured bottom to grip concrete and a smooth top to accept the hitting mat, and size it to match or slightly exceed the mat so edges don't create trip hazards.
The correct layer order from bottom to top is: concrete, rubber underlayment, shims (if needed), hitting mat. Never put shims between the rubber and concrete, that creates instability. Shims go between the underlayment and the hitting mat to level the surface.
Follow this order. Skipping steps or changing the sequence causes problems.
Impact Sports - Affordable & Portable 4' X 4' Standard Hitting Mat →
Sweep the area thoroughly, dirt and dust create uneven contact points. Wipe with a damp cloth and let it dry completely; moisture under the mat traps air and causes shifting.
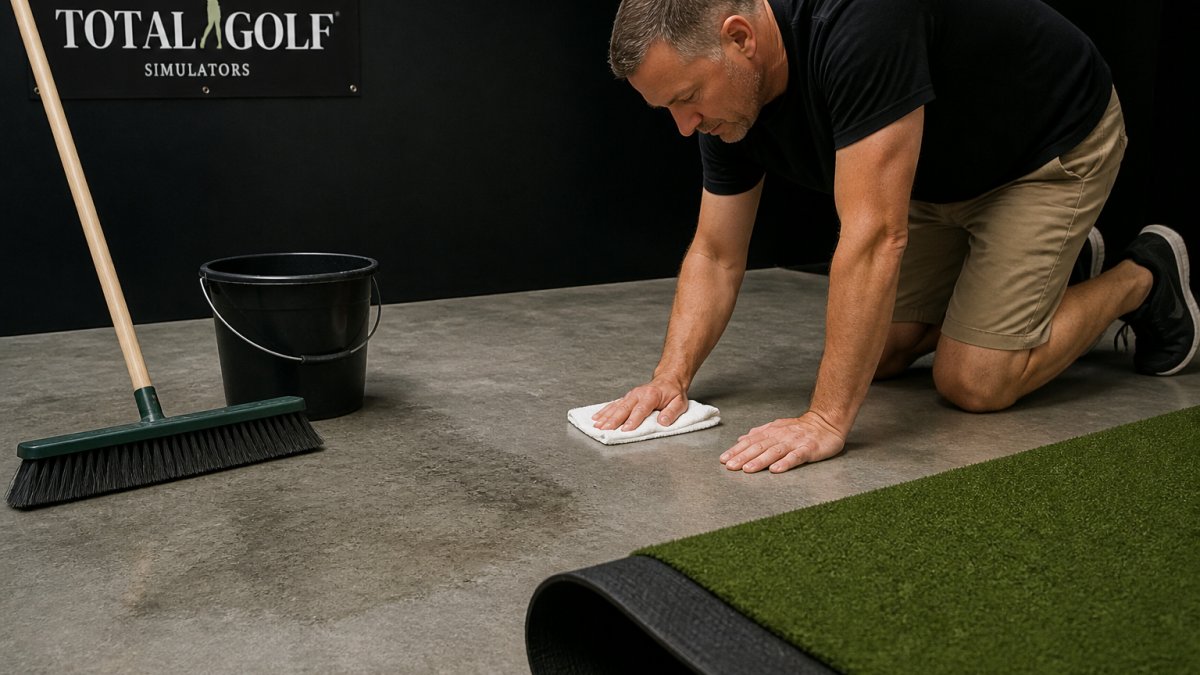
Roll out the rubber underlayment where your hitting mat will sit. Check the concrete beneath with your level, mark low spots, and add shims under the underlayment until the surface is level in multiple directions.
Lay the hitting mat on top of the underlayment and center it. If using adhesive, apply it in a grid pattern and press the mat down firmly.
For the best results, consider the Impact Sports - 5'X 5' 3 Layer "Real-Feel" Portable Golf Simulator Hitting Mat at $849.99.
Stand on the mat at different spots and jump lightly, it should not shift. Swing a club slowly, then increase speed; if the mat moves, tighten anchors or add adhesive. Check corners and edges, which move first if under-secured, and let adhesive cure fully (usually 24 hours) before heavy use.
Using smooth rubber underlayment. It slides on concrete; textured rubber grips.
Anchoring only at corners. The mat's middle also needs support, use anchors or adhesive along edges too.
Installing on sealed, wet concrete. Even sealed concrete can trap moisture underneath.
The Impact Sports - Affordable & Portable 4' X 4' Standard Hitting Mat at $445.00 is ideal for smaller spaces.
A mat that is stable on day one can drift as underlayment compresses, anchors loosen, and turf fibers mat down. The fix is a short, repeatable inspection routine with clear pass/fail criteria.
Set your interval based on how often the mat takes full-speed swings:
A quick inspection takes about two minutes; a deep check takes 15 to 20 minutes and includes lifting the mat.
Run this before every session on a heavy-use mat, or on your regular interval otherwise:
Once a month (or per your interval), lift the mat and underlayment and inspect the layers:
Replace components at these signs, not when they fail completely:
Concrete moves with temperature and moisture. In unheated garages and basements, expect seasonal shifts:
If you've re-leveled, re-anchored, and replaced the underlayment and the mat still moves, the problem is usually the slab itself, excessive slope, a sealed and polished surface, or a cracked and shifting section. The practical fix is a floating subfloor platform (plywood over a moisture barrier with a rubber top layer) rather than fighting the concrete directly.
The most effective method is layering a rubber mat under your golf simulator hitting mat to increase friction. Pair this with non-slip anchoring pads or adhesive strips at the mat's corners and edges. For concrete floors, rubber underlayment grips better than plastic or foam alone. Test the mat after installation by applying downward pressure at each corner—it should not shift. If movement occurs, add additional anchors or increase underlayment thickness.
A rubber mat under your golf simulator mat is the best foundation for preventing sliding. Rubber provides superior grip compared to foam or plastic. Combine this with leveling shims to address concrete unevenness, and add non-slip pads or double-sided tape at anchor points. For maximum stability, use a rubber underlayment at least 1/4 inch thick. This layered approach distributes weight evenly and locks the mat in place without drilling into concrete.
Yes, double-sided tape designed for heavy-duty outdoor use can secure a golf mat to concrete without drilling. Choose tape rated for concrete bonding and weight-bearing applications. Apply it along the mat's perimeter and at stress points where movement is most likely. Clean the concrete thoroughly before application to ensure adhesion. However, tape alone may not be sufficient for high-impact use—combine it with a rubber underlayment and corner anchors for best results.
Use a level tool to identify high and low spots on your concrete. Place rubber shims or leveling pads under the mat in low areas to bring the surface to level. Start at one corner and work systematically across the mat, checking frequently with a level. For minor slopes, a 1/4-inch rubber underlayment may suffice. For significant unevenness, layer multiple shims or use adjustable leveling feet. Proper leveling prevents mat bunching, improves ball flight accuracy, and reduces safety hazards during swings.