
Customer Svc: 855-620-2330 -
M-Sat -9am-6pm
Speak To Customer Service - 855-620-2330 - M-Sat 9:00am - 6:00pm MST
Customer Svc: 855-620-2330 -
M-Sat -9am-6pm
Speak To Customer Service - 855-620-2330 - M-Sat 9:00am - 6:00pm MST

Last Updated: November 1, 2026
Quick Summary
Vacuum your golf simulator screen with a soft brush on low suction, then mist small sections with water from about 12 inches away and wipe in straight lines with light pressure. Dab stubborn marks with mild soap, blot dry, and let the screen air-dry fully before hitting again.
A clean golf simulator screen is the cheapest upgrade your setup will ever get. Dirt, dust, and ball marks scatter projected light, so your image looks washed out even when the projector is fine. The screen is often the most-replaced part of a simulator, and many replacements are avoidable. Cleaning protects two things at once. It keeps the picture sharp, and it slows the wear that shortens screen lifespan. Below, we'll show you exactly how to clean and maintain golf simulator hitting screen surfaces the right way, step by step, without risking damage.
Golf simulator impact screen cleaning can be a low-risk job when you match the method to the screen material and follow a fixed sequence. The goal is to lift dust and marks, never to scrub the weave. Harsh rubbing pushes dirt into the fabric and breaks down the fibers. Because impact screens vary in fabric and coating, always check the manufacturer's cleaning guidance first and test any cleaner on a small, out-of-the-way area before you touch the hitting zone.
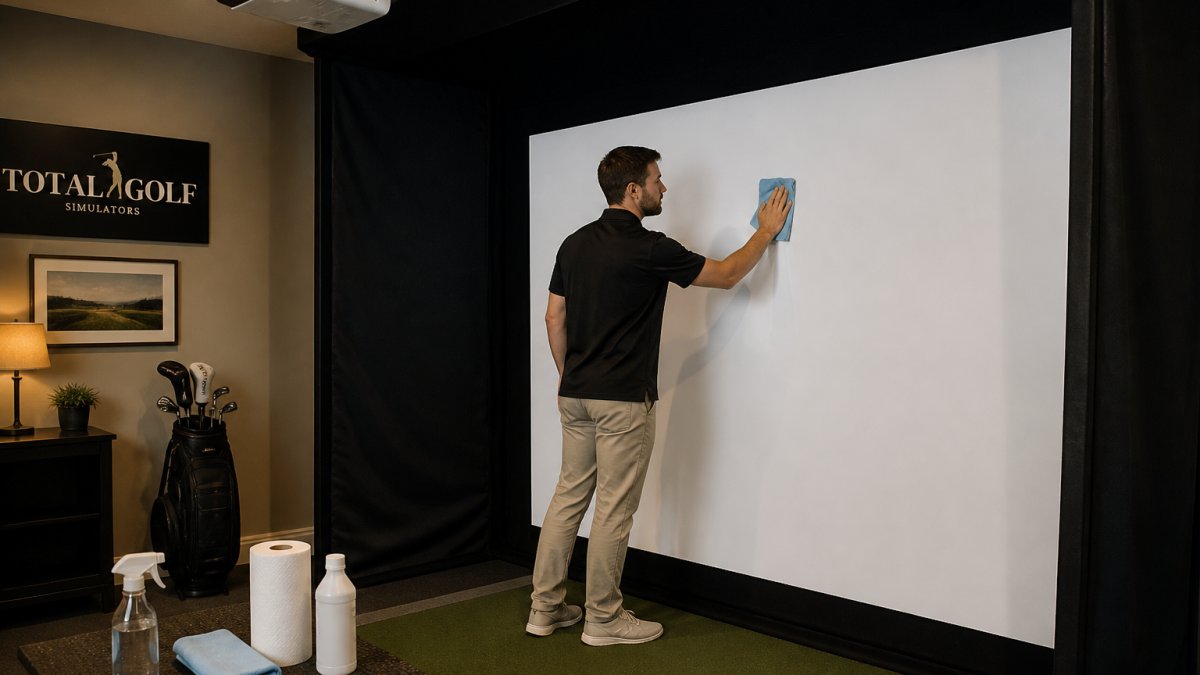
Impact screens are not all the same. Woven polyester and nylon screens tolerate light misting and gentle dabbing. Screens with a coated or laminated image surface can delaminate if moisture seeps under the coating, so use the least water possible and never let liquid pool. Check the manufacturer's tag or manual for the recommended cleaner and any warnings about steam, solvents, or vacuuming. If the guidance is missing, test a drop of your cleaner on a bottom corner, let it dry, and inspect for color shift, stiffness, or coating lift before cleaning the center.
Let the screen air-dry completely before the next session. Trapped moisture under a coated surface can cloud the image or weaken the coating. Once dry, stand back and check the cleaned area under projector light for streaks or residue. If a mark remains after two gentle attempts, stop and treat it by cause rather than scrubbing harder.
Most marks come from three sources: dirty balls, dirty clubs, and ambient dust. Match the fix to the cause and you won't over-clean the fabric. Treat fresh marks the same day when possible, because set-in stains need more agitation and carry more risk to the weave.
Mark Type |
Likely Cause |
Safe Fix |
|---|---|---|
Gray smudges |
Dirty golf balls |
Damp microfiber, light dab |
Dark streaks |
Mud on clubs |
Dry first, then damp cloth |
Dust film |
Room air and carpet |
Vacuum with soft brush |
Shiny spots |
Oily hands or grips |
Mild soap, dab only |
Rust-colored dots |
Metal or wet ball contact |
Mild soap, dab, then air-dry |
Ball marks are the most common complaint. A clean ball leaves almost nothing behind. A muddy one leaves a stain that sets if you ignore it. Wipe fresh marks the same day and they lift easily. If a mark persists after two gentle dabs, do not scrub; move to a mild soap dab and rinse with a clean damp cloth.
Let mud dry first, then brush off the loose material with a soft cloth before you add water. Wetting mud first can drive it into the weave. After the dry pass, dab with a damp cloth and a drop of mild soap, then blot dry.
Dust is a maintenance issue, not a stain. Vacuum with the soft brush on low suction weekly, and keep the room and mat vacuumed so dust does not settle back onto the screen.
Oily hand or grip residue can look shiny under projector light. Use a mild soap dab and a clean damp cloth to rinse, then blot dry. Avoid solvent cleaners, which can damage coatings.
If a mark will not lift after two gentle cleaning attempts, or if the fabric feels thin, fuzzy, or frayed at the spot, stop cleaning. A persistent mark paired with visible wear in the center hitting zone is a sign the screen is nearing the end of its service life. Patch small pinholes with a fabric patch made for impact screens. For a tear longer than a few inches, or a worn center zone that shows through, replacement is the safer call. A failing screen can let a ball through, and that's a safety issue, not just a cosmetic one.
Wrinkles and fold lines show up as shadows on the projected image, and they get worse over time if the screen tension slips. A properly tensioned screen sits flat and tight against the frame. Check the corners and edges first, since that's where slack starts.
A common mistake is cranking one corner hard. That pulls the screen off-square and creates new creases. Small, even adjustments around the whole frame work better.
Carl's Place High-Contrast Gray Impact Screen →
Small wear is normal. Tears are not. Inspect the screen monthly, especially the center where most shots land. Look for thinning fabric, frayed edges, and pinholes that let light through.
Patch small pinholes with a fabric patch made for impact screens. For a tear longer than a few inches, or a worn center zone that shows through, replacement is the safer call. A failing screen can let a ball through, and that's a safety issue, not just a cosmetic one. When repair no longer makes sense, a Carl's Place Premium Impact Screen is a replacement option designed and tested to withstand direct impact from fast-moving golf balls.

Some cleaning methods do more harm than the dirt. Avoid these entirely:
A simple routine keeps the screen in like-new condition:
For a full picture of what upkeep really costs, see this breakdown of commercial golf simulator maintenance costs.
The screen only stays clean if what hits it is clean. Dirty golf balls are the number one cause of marks, and dirty club faces transfer mud and grass onto the fabric on every shot. Wipe balls before each session and keep a club and ball cleaner by the hitting mat.
Dust control matters too. Vacuum the room and the mat regularly, and keep the enclosure free of debris. A clean room means less dirt buildup on the screen fabric over time.
When it's time to replace, match the screen material to your room and your ball speed. The Carl's Place High-Contrast Gray Impact Screen is designed to boost perceived contrast in rooms where ambient light cannot be fully controlled, while the Carl's Place Preferred Golf Impact Screen offers a tightly woven, smoother surface for home use.
If you want to understand the options first, this guide to golf simulator impact screen material explains which fabric suits which setup. For a budget-friendly replacement, the Carl's Place Preferred Golf Impact Screen offers a higher quality image at an affordable price point. And if heavy ball marks are your problem, this look at impact screen material for high ball speed covers the fabrics that hold up best.

Stick to a soft microfiber cloth, lukewarm water, and a mild detergent diluted heavily in water. Spot clean only the marked area and blot rather than scrub. Avoid abrasive pads, Magic Erasers, bleach, solvents, and household glass cleaners, which can break down screen fabric or leave a sheen that shows up in the projected image. For a golf simulator screen with heavier soil, work in small sections and let the fabric air dry fully before hitting again.
Dust and light ball marks build up fast in a home bay. Wipe the screen down regularly and spot clean marks as they appear. Check tension and look for wear at the same time, since loose fabric and small tears get worse with every impact. A steady routine keeps the image sharp and extends screen lifespan.
Small tears and frayed edges can sometimes be patched with a fabric patch made for impact screens. Clean and dry the area first, then press the patch flat so it does not catch the ball. Larger rips, sagging around a tear, or damage near the mounting points usually mean replacement is the safer call. Carl's Place screens are tested to withstand balls up to 250 mph, so a repair that compromises that rating is not worth the risk.
Keeping the screen evenly tensioned helps prevent creases. Re-tension the screen evenly using the zip ties or ball bungees around the frame, working side to side so the pull stays balanced. A garment steamer held a few inches from the fabric can relax fold lines left from shipping, but never touch a hot iron to the screen. Keeping steady tension prevents new wrinkles and keeps the image flat for the projector.
Your screen takes every shot you hit, so give it the care it deserves. Total Golf Simulators can help you protect your setup with expert guidance, a curated selection of premium screens and enclosures, and a Price Match Guarantee on everything we sell. Use our Simulator Finder Quiz to match the right screen to your space and budget. Get started with Total Golf Simulators and keep your simulator looking sharp for years.
