
Customer Svc: 855-620-2330 -
M-Sat -9am-6pm
Speak To Customer Service - 855-620-2330 - M-Sat 9:00am - 6:00pm MST
Customer Svc: 855-620-2330 -
M-Sat -9am-6pm
Speak To Customer Service - 855-620-2330 - M-Sat 9:00am - 6:00pm MST

Last Updated: November 18, 2026
Quick Summary
To optimize space with a wall mounted golf simulator, measure your ceiling height, width, and depth first, then anchor the frame into wall studs and choose a folding design such as a hinged, retractable, or collapsible screen. Route cables along the frame or wall and keep the hitting mat clear of the screen so the room still works as a den, garage, or guest room.
A wall mounted golf simulator turns a spare wall into a year-round practice bay. That matters because most home setups fail on space, not on budget.
Here's the truth most guides skip. You don't need a warehouse.
Below, we'll show you exactly how to plan the room, mount the frame, and pick hardware that fits a compact space. Get the layout right and a tight room works just fine.
Some numbers are fixed. Cut them and you get cracked clubs, broken screens, or a swing that feels cramped. The official simulator guidance from the Golf Course Superintendents Association and most builders agree on the basics: height, width, and depth all have hard floors.
Golf simulator space requirements start with three numbers:
For exact figures and buffer zones, our guide to golf simulator room dimension requirements breaks down every measurement.
The driver needs the most room, so plan for the driver and everything else generally fits.
Mount the hitting mat with enough distance from the screen to give the launch monitor room to read the flight and keep the clubhead clear of the frame.
The impact screen needs breathing room. Keep clearance between the screen and the wall behind it so the frame can absorb ball energy.
Player safety follows the same logic. Stand far enough back that a mishit doesn't ricochet into your shins.
Ceiling height plays a bigger role than most people realize. Our breakdown of how ceiling height affects simulator accuracy explains why a low ceiling changes both your club choice and your data.
A wall-mounted frame is only as strong as what holds it. Anchoring into drywall alone will not survive repeated driver impacts. You need the wall's structure, not its surface.
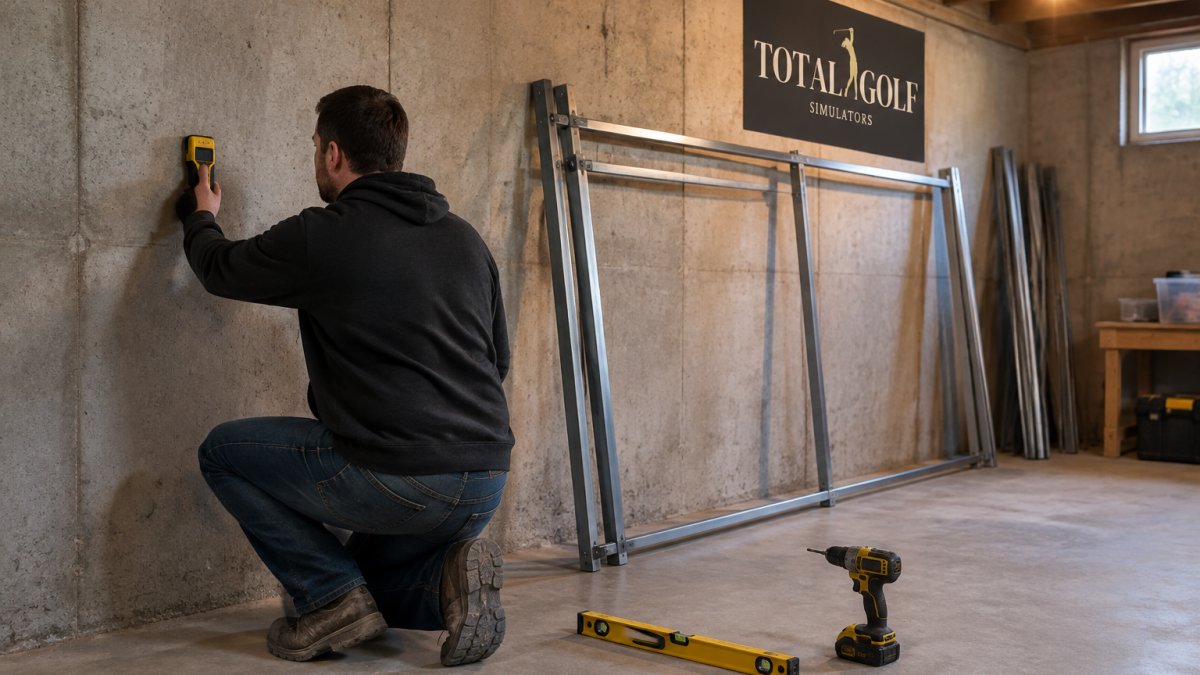
Here's what to check before you drill:
A common mistake is trusting a single anchor point. Spread the load and the frame stays put.
Follow this order and the install stays clean:
Watch out: skipping the level check on the top rail throws off the whole screen. A crooked frame means a crooked image and uneven tension.
A shared room needs a screen that disappears. Retractable golf simulator screen installation lets you fold the bay flat against the wall when the room goes back to normal life.
A common pattern is a hinged or retractable setup in a room that hosts guests or doubles as an office, and a fixed frame in a garage or basement where nothing else needs the floor.
Moving parts change the space math.
Side clearance matters more than with a fixed frame.
The consumer product safety guidance on home sports equipment is worth a read before you mount anything overhead.
The Impact Sports collapsible enclosure folds flat against the wall when not in use, and its bungee tension system keeps the screen tight during play.
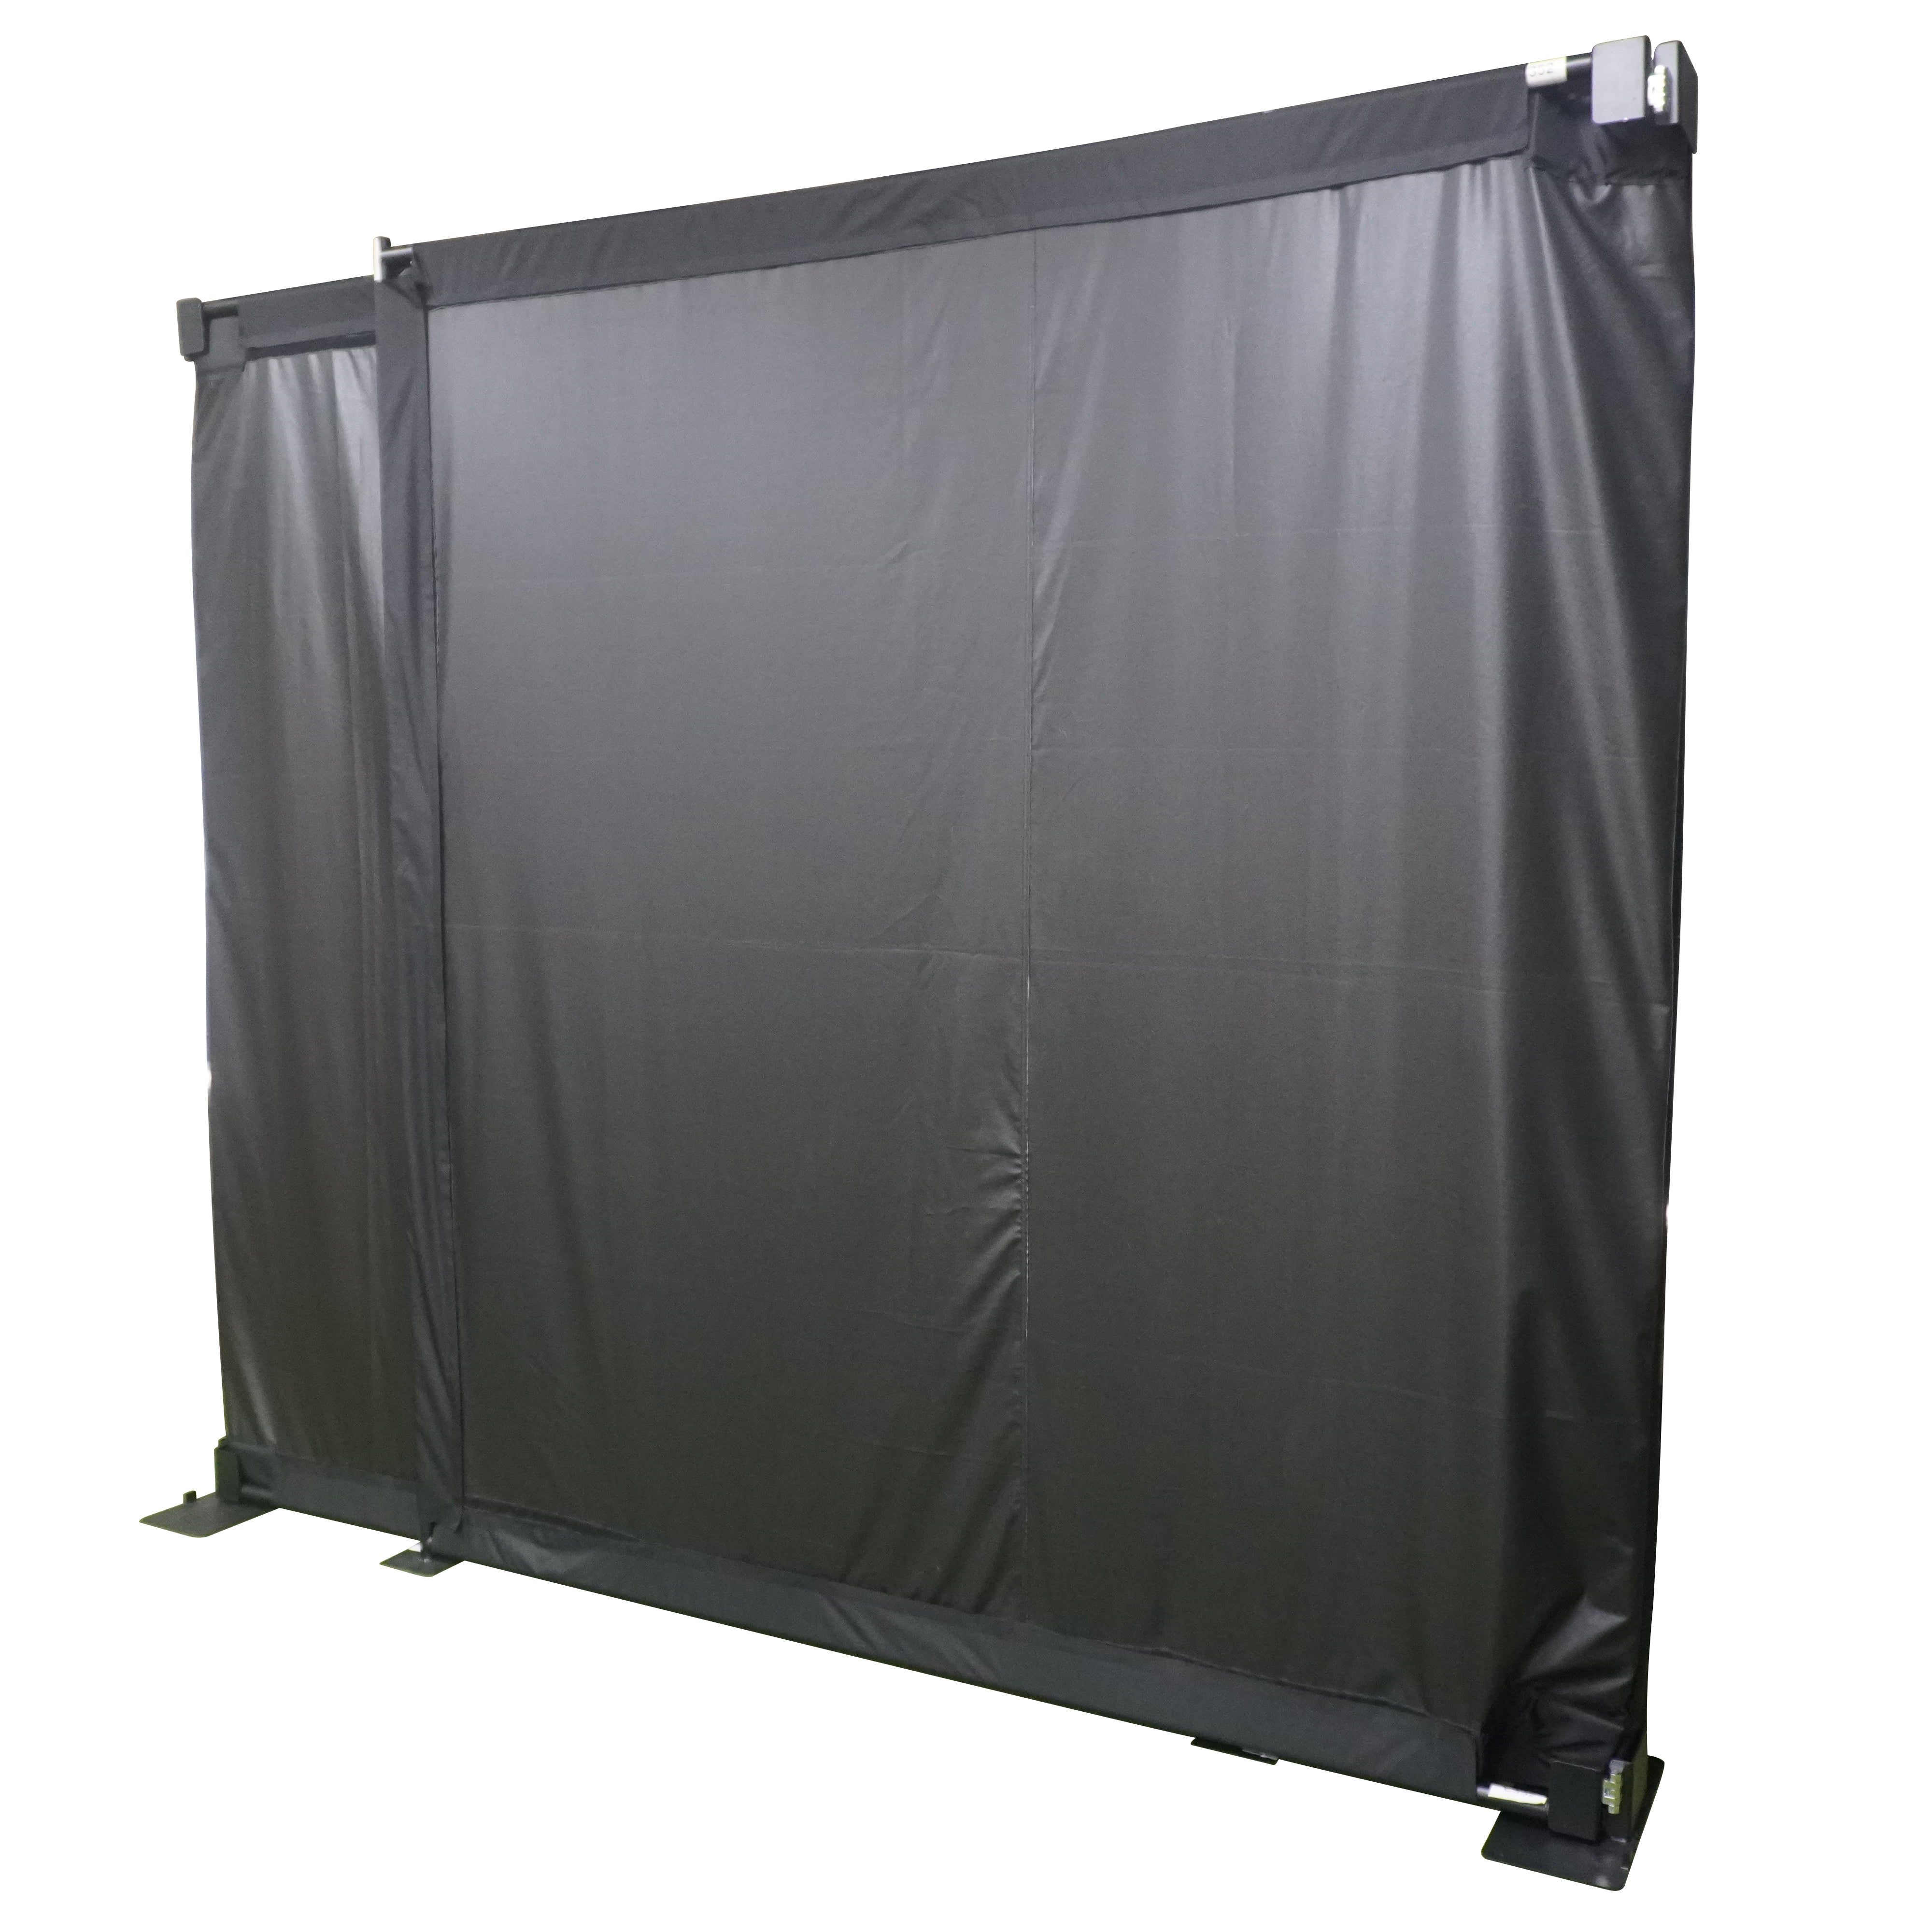
For a full walkthrough on ceiling height and projector throw distance, see our guide to installing a retractable golf screen in a spare room.
Watch out: a retractable screen that is not fully tensioned before the first swing will balloon on impact and throw balls back at the hitter.
Stray balls find walls. How to protect walls in a golf simulator room comes down to padding and coverage, not luck.
Start with the highest-risk zones:
Heavy curtains or dedicated wall padding handle side impacts well. Our golf room curtains are made for this job and mount straight to the wall.
Projector placement decides whether the image fills the screen. Get the throw distance wrong and you get a small, blurry picture no setting can fix. In a tight room, placement and cabling are the same problem: every cable you route badly eats swing space or becomes a trip hazard.
A few rules keep it simple:
The Universal Golf Projector Ceiling Mount can be installed on the ceiling or wall and uses telescoping arms to adjust drop distance. For frame-based setups, the SkyRail+ enclosure-attached mount slides up to 29 inches and attaches to the enclosure without a ceiling install.
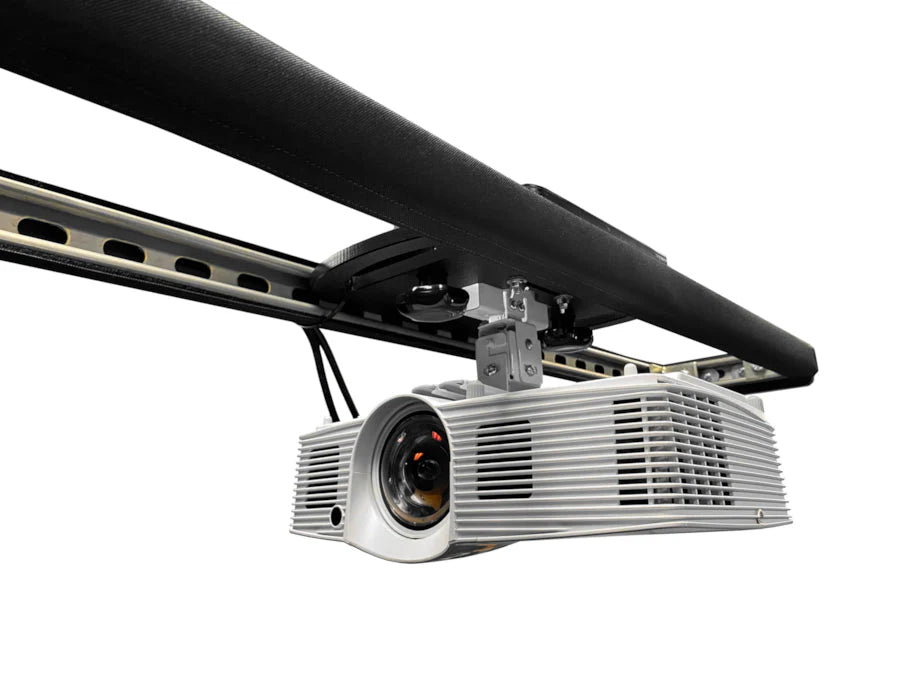
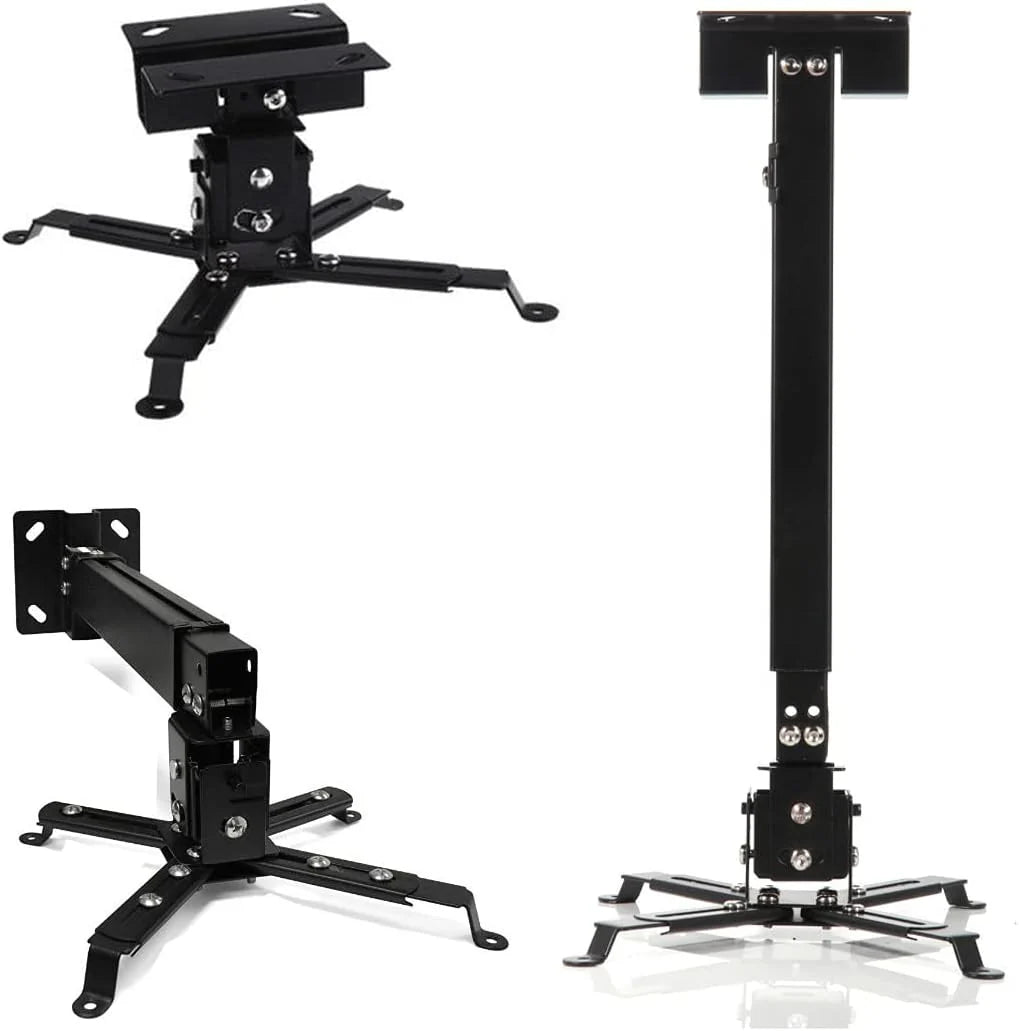
Decide where the power comes from before the first hole is drilled. A simulator bay typically needs outlets for the projector, the launch monitor, the computer or tablet running the software, and lighting. That is four loads in a room that may have had one outlet.
Route cables along the frame or the wall, never across the floor. Cable raceway or adhesive clips along the top rail keep the HDMI and power runs tidy and out of the way.
Watch out: an unmanaged HDMI cable hanging from a ceiling-mounted projector can catch a club on the follow-through. Clip every run to the frame or ceiling before the first full swing.
The right wall mounted golf simulator comes down to your room, not the spec sheet.
| Room Type | Ceiling | Best Setup | Why It Works |
|---|---|---|---|
| Spare room | 10 ft | Collapsible enclosure | Folds flat when not in use |
| Basement | 9-10 ft | Frame mount + short-throw projector | Tight depth, low ceiling |
| Garage | 10 ft+ | Wall-mounted frame + ceiling mount | High ceiling, hard floor |
| Commercial bay | 10 ft+ | Fixed frame + padded walls | Heavy use, safety first |
The Simulator Finder Quiz helps match setups to your space and budget.
That's the whole game: measure the room, anchor to studs, leave the screen gap, and pick hardware that folds away.
Most people assume a simulator needs a big dedicated room. It doesn't. It needs smart measurements and gear built for tight spaces.
A 12x12 room can work for a wall mounted golf simulator if the ceiling is high enough for your swing. That leaves limited depth for a backswing, so shorter hitters and irons-only practice fit more comfortably. Measure your actual swing clearance with a driver before committing, and favor a fold-away enclosure so the room stays usable.
Room dimensions depend on your swing and equipment, so measure your space before buying. Golf simulator space requirements also include side clearance for left- and right-handed golfers, so plan for room on both sides of the hitting mat.
Consider padding the walls and ceiling around the hitting area, and keep the impact screen tensioned. Mount the enclosure frame securely into wall studs. If your room has exposed drywall beyond the enclosure, add a padded curtain or foam panels along the likely miss zones. A foldable enclosure with integrated wall and frame padding, like the Impact Sports collapsible model, handles much of this protection for you.
A 9-foot ceiling can be tight for a full driver swing, though it may suit irons and wedges. Measure your standing reach plus club length at the top of the backswing, then add a safety margin. Test your swing in the room before buying, and check the enclosure's stated height.
