
Customer Svc: 855-620-2330 -
M-Sat -9am-6pm
Speak To Customer Service - 855-620-2330 - M-Sat 9:00am - 6:00pm MST
Customer Svc: 855-620-2330 -
M-Sat -9am-6pm
Speak To Customer Service - 855-620-2330 - M-Sat 9:00am - 6:00pm MST

Last Updated: September 19, 2026
Professional golf simulator installation turns a raw room into a calibrated, playable indoor golf environment: site survey, enclosure assembly, projector alignment, launch monitor placement, turf and padding, and software calibration.

The work starts before anything ships. A proper survey measures ceiling height, room depth and width, and swing clearance, then maps power outlets, lighting, and structural obstacles. The sequence:
A common mistake is treating these as independent purchases. They are not. A projector that throws the wrong image size, or a launch monitor mounted a few inches off its optimal position, will undermine a setup that cost thousands. The Consumer Technology Association guidance on home theater installation makes a similar point about display calibration: the hardware is only half the result.
Four requirements decide whether a space works: vertical clearance, room geometry, electrical capacity, and climate and acoustics. Get any wrong and no amount of premium equipment saves the build.
Ceiling height depends on the tallest swing in the room. A driver swing needs clearance for the clubhead at the top of the backswing and the follow-through, and a taller player with a longer shaft needs more than a shorter player with irons. Most residential simulator rooms use a finished ceiling between nine and ten feet; below that, players are forced into a shorter, unnatural swing. Measure to the lowest obstruction, a beam, a duct, a light fixture, not the nominal ceiling.
Room depth matters just as much. The launch monitor needs distance to read ball flight, and the impact screen needs standoff so the ball decelerates before reaching the wall behind it. A camera-based monitor wants a clear look at the ball from behind the player; a radar-based monitor wants a clear runway in front. Width determines how far off-center a player can stand and how much side netting you need.
Electrical is the requirement people overlook, and the one that turns a weekend project into drywall repair. A simulator draws a projector, a gaming PC or console, a launch monitor, overhead lighting, a screen tensioning system, and sometimes a heater or ventilation fan. Add those loads and a shared 15-amp branch circuit trips the moment the projector warms up.
Most professional builds run a dedicated 20-amp circuit to the bay, and larger commercial bays with multiple monitors, a commercial projector, and HVAC often need a subpanel.
A simulator room is a small, sealed box with a projector throwing heat, a computer under load, and one to four people swinging. That raises temperature and humidity faster than a typical residential room was designed to handle. High humidity is the quieter problem: it stresses electronics, encourages mold on turf backing, and can warp a tensioned screen.
This is the requirement almost no guide covers, and it determines whether the room is usable at night. A driver impact on a tensioned screen produces a sharp, percussive crack that travels through framing and ductwork. In a shared-wall home, that sound reaches bedrooms and neighboring units.
Get these right during planning and installation becomes assembly. Get them wrong and every later step inherits the problem.
Professional installation cost reflects labor, calibration, and the reduced risk of an underperforming system. The price breaks into three buckets: equipment, labor, and the calibration and support that turn components into a working simulator.
DIY Golf Enclosure System w/Multiple →
Equipment is the largest line item, varying by launch monitor tier, enclosure size, and projector quality. Labor covers assembly, mounting, wiring, and alignment. Calibration and support is the bucket buyers undervalue, because it is invisible until something is misaligned.
Component |
What It Covers |
Why It Matters |
|---|---|---|
Equipment |
Launch monitor, enclosure, projector, turf, mat |
Determines accuracy and realism |
Labor |
Assembly, mounting, wiring, cable management |
Prevents structural and safety errors |
Calibration |
Projector alignment, monitor positioning, software setup |
Directly affects data accuracy |
Support |
Remote troubleshooting and follow-up |
Protects your investment over time |
DIY golf simulator installation can work, and for some buyers it is the right call. DIY suits simple, low-stakes setups; professional installation suits anyone who needs accuracy, safety, or a finished look. The difference is not assembly, it is alignment, infrastructure, and what happens after the install.
Factor |
DIY |
Professional |
|---|---|---|
Upfront cost |
Lower |
Higher |
Time investment |
High, often weekends |
Minimal for the buyer |
Calibration accuracy |
Depends on skill |
Verified and tested |
Safety netting and padding |
Easy to underbuild |
Engineered to spec |
Electrical and HVAC |
Often improvised |
Planned before framing |
Acoustic treatment |
Rarely addressed |
Layered into the build |
Support after setup |
None |
Remote support included |
Best for |
Simple, temporary setups |
Dedicated, high-performance rooms |
What most guides miss is that the risk in DIY is not assembly, it is alignment. An unevenly tensioned screen, an off-axis projector, or a launch monitor placed inches from its optimal read zone all produce a setup that looks fine and plays wrong. Those are data problems, not cosmetic ones, and they teach bad habits to anyone practicing in the bay.
Installation is a one-time event; maintenance is forever, and it is where the DIY-versus-pro gap widens. Impact screens stretch and lose tension with repeated use, and an untensioned screen sags and distorts the projected image. Projector bulbs dim on a known schedule, most manufacturers publish expected lamp life in hours, and a dim bulb washes out the image long before it fails.
If you are handy, patient, and building a basic bay, DIY is reasonable. For a dedicated room or commercial facility, the calibration work alone justifies the professional route, and the infrastructure, maintenance, and insurance angles make the case stronger.
The hidden costs of DIY mistakes rarely show up on day one. They surface weeks later as a sagging screen, a projector image that will not sit square, or ball flight data players stop trusting.
The most common failures we see:
Professional golf simulator installation pays off because it protects accuracy and reliability. A properly installed system reads ball flight correctly, holds calibration, and stays safe under repeated use.
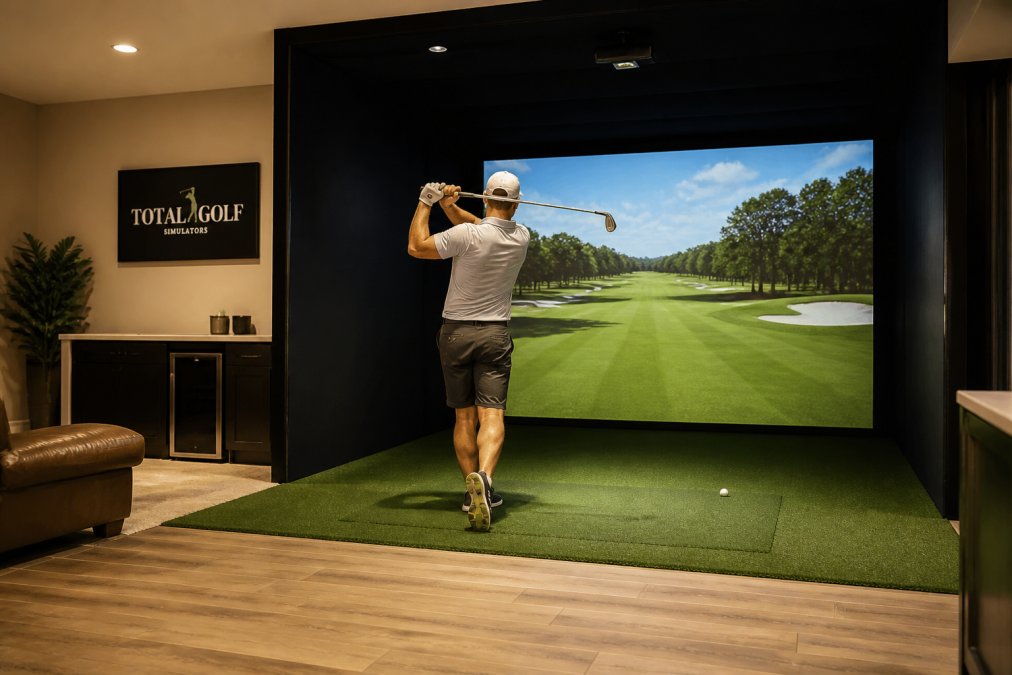
Golf simulator installation cost depends on the enclosure, launch monitor, and room prep. Enclosures range from $1,349 for a DIY kit to $6,850 for a modular panel system. Professional assembly for the modular bay adds $3,000. Expect to budget for electrical work, HVAC adjustments, and calibration if not included. A turnkey solution bundles these so you avoid surprise line items and repeated contractor visits.
Common DIY mistakes include ignoring ceiling height requirements for full swings, misaligning the launch monitor so ball flight data reads incorrectly, and routing cables where they can be struck. Skipping projector calibration leads to distorted images that make practice frustrating. Many DIYers also underestimate electrical load and HVAC needs, then pay twice to fix them.
Professional calibration aligns the launch monitor, projector, and impact screen so swing path and ball flight data match what you see. Without it, radar and camera-based systems can misread shots, making practice counterproductive. Calibration also accounts for ambient light control and screen tension. Accurate data matters most for golf instruction facilities, where students rely on feedback to change their swing.
A high-end simulator with a quality enclosure and impact screen typically lasts 5 to 10 years, depending on use. Commercial setups may need screen replacement sooner. Regular maintenance like checking bungees, cleaning the projector filter, and inspecting netting keeps performance consistent and delays costly replacements.