
Customer Svc: 855-620-2330 -
M-Sat -9am-6pm
Speak To Customer Service - 855-620-2330 - M-Sat 9:00am - 6:00pm MST
Customer Svc: 855-620-2330 -
M-Sat -9am-6pm
Speak To Customer Service - 855-620-2330 - M-Sat 9:00am - 6:00pm MST

Last Updated: November 6, 2026
Quick Summary
Launch monitor practice drills for driver distance replace range guesswork with measurable feedback on ball speed, smash factor, launch angle, and strike. Run a timed 30-minute session with a baseline block, a tee-height ladder for upward strike, and a nine-shot accuracy window, tracking carry as your primary score. Judge progress on a rolling three-session average, not a single session.
Most golfers practice the driver the same way: hit a bucket, watch the ball fly, guess whether it went farther than last time. That guesswork is the problem.
The difference shows up fast. A range session without numbers leaves you asking "was that good?" A session with a launch monitor answers it before you tee up the next ball.
Below, this guide walks through the numbers that actually drive distance, the drills that move them, and a timed 30-minute session you can run at home. First, here's what most guides get wrong: they chase swing speed alone and ignore strike quality, launch angle, and dispersion.
Distance comes from five measurable inputs, not one. Carry distance is how far the ball flies before it lands. Ball speed comes from clubhead speed multiplied by smash factor, which measures how efficiently you transfer energy into the ball. Launch angle and spin rate decide the shape of the flight. Strike quality, or where the ball meets the clubface, decides whether any of it repeats.
Miss the center and you lose ball speed even with a perfect swing. That's why center contact matters more than raw speed for most players.
Carry is the number to trust indoors. Total distance adds roll, and roll depends on turf, slope, and weather you can't control. When you practice driver distance on a launch monitor, track carry as your primary score. Total distance is a bonus, not a target.
Beginners should watch ball speed and smash factor first. Mid-handicappers can add launch angle and spin. Stronger players can dig into face-to-path and dynamic loft. For a deeper look at turning these numbers into swing changes, see our guide on 7 ways to improve your golf swing with launch monitor data.
Hitting up on the driver adds carry without swinging harder. A positive angle of attack means the clubhead is moving upward at impact, which launches the ball higher with less spin. Two drills build that upward strike.
Tee-height ladder drill: Set the tee higher than normal and hit five drivers, then lower it one notch and hit five more. Track launch angle at each height. Most players find their best launch with the ball teed so the top half of the face is above the crown.
Headcover gate drill: Place a headcover just behind the ball. Swing without hitting it. This trains the low point of your swing to sit behind the ball, which produces the upward strike.
Chasing distance without control is a trap. The best drills to hit driver straighter keep your speed while tightening shot dispersion. Start with the face-to-path relationship: a square face with a neutral path produces a straight ball.
Alignment-stick path drill: Lay two alignment sticks on the ground pointing at your target. Swing the clubhead between them through impact. This gives you a visual path reference and a target to aim at.
Nine-shot window drill: Hit three balls to the left of a target, three at it, three to the right. Track where each lands. This builds control and shows you your natural curve. Keep your swing speed up during the drill; slowing down to steer the ball defeats the purpose.
Beginners need a starting point before they need a plan. Golf driver drills for beginners should establish a baseline of five to ten swings with your normal driver. Record clubhead speed, ball speed, carry, and dispersion. That's your reference for every future session.
A common mistake is copying an advanced player's numbers. Your baseline is yours. Compare yourself to last week, not to a tour pro.
Build a repeatable routine next: same tee height, same alignment, same setup. Consistency in setup produces consistency in data. Once your baseline is stable, you can start changing one variable at a time.
Golf driver drills at home work best on a clock with a fixed shot count, because a plan you can repeat is a plan you can measure.
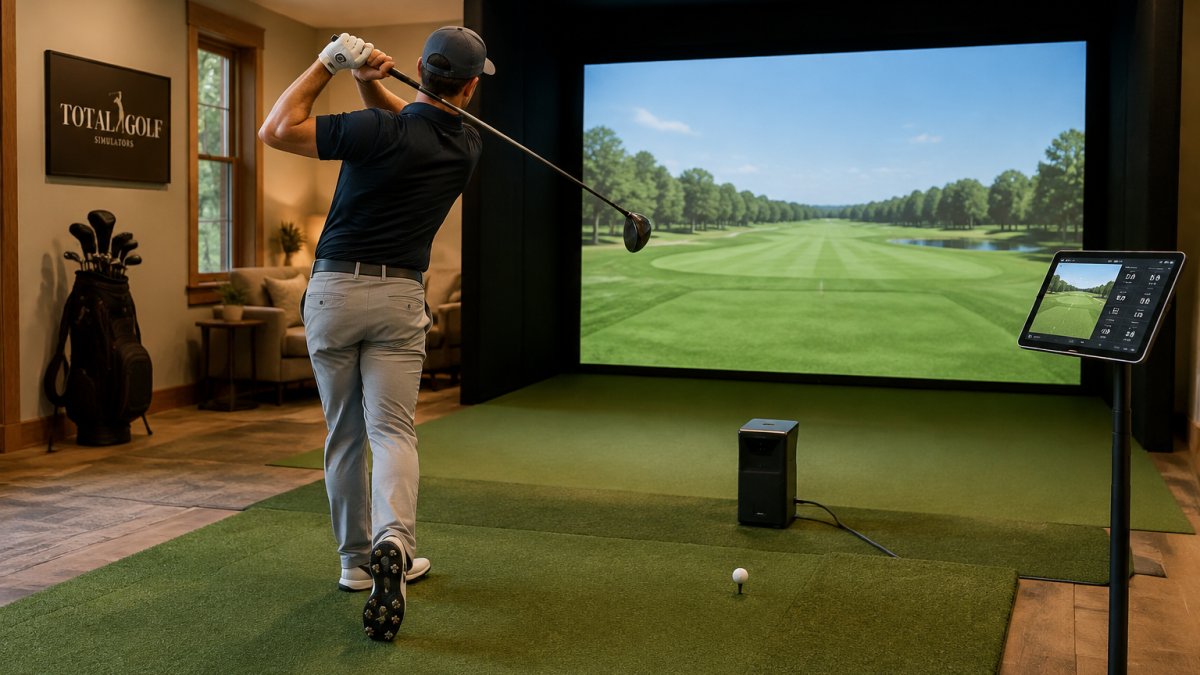
0-5 min: Warm-up (no data). Eight half-speed swings with a mid-iron, eight with a 7-iron, then six full driver swings at about 70 percent effort. The goal is tempo and balance, not numbers. Do not record anything yet.
5-12 min: Baseline (12 shots). Hit 12 drivers at normal speed, one every 30 seconds. With this baseline in hand, you can target the swing and launch changes most likely to increase driving distance while checking each adjustment against your numbers.
Garmin Approach R10 Indoor & Outdoor Launch Monitor w/Video Clip Recording →
12-20 min: Upward strike (16 shots). Run the tee-height ladder: four drivers at your normal tee height, four one notch higher, four two notches higher, four back at normal height. Rest 30 seconds between sets. Success threshold: at least three of the four high-tee shots show a launch angle 1-3 degrees above your baseline with no drop in smash factor. If smash factor falls, the higher tee is exposing a heel strike, not adding attack angle.
20-27 min: Accuracy under speed (15 shots). Run the nine-shot window drill in three sets of five: two balls at the left edge of a 30-yard-wide target window, one at center, two at the right edge. Keep swing speed within 3 mph of your baseline average. Success threshold: at least 11 of 15 shots inside the window. Rest 45 seconds between sets so speed does not decay.
27-30 min: Cool-down and log (5 shots). Five controlled drivers at 80 percent effort, then record your best carry, your average carry, and your average offline distance. Note which block produced your best strike and why.
Progression rule: Stay on this plan until you hit the success threshold in both the upward-strike and accuracy blocks in three consecutive sessions. Then add one notch of tee height to the ladder or widen the target window by 5 yards, not both at once. Change one variable per week so you can tell what caused the gain.
Rest and volume: Cap the session at 60 driver swings. Hitting more than that at home tends to degrade strike quality and inflate your dispersion numbers, which makes the log useless.
Watch out: practicing off a mat hides fat shots, so a strike that feels clean may still be a slightly heavy contact that costs ball speed on turf.
Here is the full session broken down by time block, shot count, and success threshold.
Time block |
Shots |
What to do |
Success threshold |
|---|---|---|---|
0-5 min warm-up |
No data |
Half-speed swings, then six drivers at 70 percent |
Tempo and balance, no numbers |
5-12 min baseline |
12 |
Normal speed, one every 30 seconds; discard first two |
Average remaining 10 as session baseline |
12-20 min upward strike |
16 |
Tee-height ladder in four sets of four |
Three of four high-tee shots 1-3 degrees above baseline |
20-27 min accuracy under speed |
15 |
Nine-shot window in three sets of five |
At least 11 of 15 inside the window |
27-30 min cool-down and log |
5 |
Controlled drivers at 80 percent effort |
Record best carry, average carry, average offline |
Bad setup produces bad numbers, and bad numbers make every drill in this article meaningless.
Placement. Set the monitor at the distance its manual specifies behind or beside the ball, and keep that distance identical every session.
Alignment. Align the unit to your target line, not to the mat edge.
Measured versus estimated. Know which numbers your unit calculates directly and which it derives.
A repeatable baseline and progress log. Standardize the test: same tee height, same ball, same mat position, same warm-up, 10 recorded driver shots after two discarded warm-ups. Log the date, the 10-shot averages for carry, ball speed, smash factor, launch angle, spin, and offline distance, plus your best carry. Judge progress on a rolling three-session average, not a single session, because shot-to-shot variation of several yards is normal even for good players. A gain that shows up in the rolling average across three sessions is real; a gain that appears once and disappears is noise.
Our guide on how golf launch monitors work explains the measurement steps, and our indoor golf simulator data accuracy guide covers calibration and common reading errors.
The right monitor depends on your space, budget, and how much data you want. For driver practice, prioritize accurate ball speed, launch angle, spin, and club path.
For ranked options, see our best launch monitors for 2026, or view the FlightScope Mevo + launch monitor directly. Our team can help you match a device to your space and goals.

Ball speed and smash factor set your ceiling, so start there. Then look at launch angle, spin rate, and angle of attack, because those three decide whether your ball speed turns into carry. A driver swing that hits down on the ball with high spin loses yards even when ball speed looks good. Track carry distance as the outcome, and use impact location to confirm you are finding the center of the face.
Set a dispersion limit before you chase speed. Hit ten drivers, note your shot dispersion on the launch monitor, and treat that pattern as your guardrail. Any swing change that widens it gets scrapped even if carry distance climbs. The best drills to hit driver straighter pair a speed target with a start-line target, so every rep has to satisfy both. Gains that survive that test are the ones that hold up on the course.
Three focused sessions a week beats daily mindless reps. A 30-minute session with a launch monitor gives you enough feedback to make one change and test it. Give yourself at least one rest day between speed-focused sessions, and keep one session purely about control and tempo. Log your baseline numbers each week so you can see whether driver distance is actually moving or you are just swinging harder.
With a launch monitor, home practice can be more productive than the range because you get instant data on every shot instead of guessing. A setup with a net, mat, and monitor lets you run the same drills year-round. The one thing you give up is seeing the full ball flight, so lean on carry distance, shot dispersion, and face-to-path numbers to fill that gap.
Driver distance rewards the player who measures, adjusts one variable, and repeats. Total Golf Simulators makes that easy with a curated lineup of launch monitors, enclosures, and hitting mats, plus our Simulator Finder Quiz to match a setup to your space and budget. We back every order with a Price Match Guarantee and free shipping on most items. Get started with Total Golf Simulators and turn your next practice session into measurable distance gains.
